I wasn’t a scrapbooker before I got married. My family took fun summer trips across Southwest and California, but for some reason I never put much stock in spending time to scrapbook everything. Then I got married and things changed. I realized how important it is to print my photos and put them in an album that is accessible. Labeled albums allow us to look at what we want to remember without scrolling through thousands of photographs on a phone. And, as a plus, if you do not have enough storage on your phone, printing then deleting those pictures will give you more space!
I completed the first part of the wedding album in November. As I was getting close to the album being full, I realized that I had so many photographs that I would need a part two! So I changed the album out to two albums from Creative Memories, a company for which I am an independent advisor, and purchased some matching decorative paper as well. While I did not re-do all of the pages I had already completed, the second part of the album has almost exclusively CM paper and embellishments. I fully expect it to last longer than the first part, but perhaps one day I will re-do the first album with CM paper.
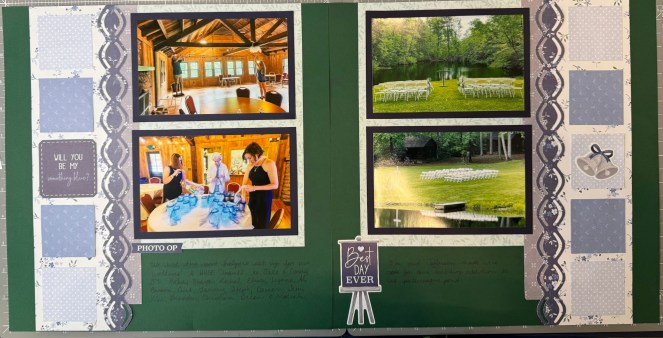
I finished the second album, which I will label as “Davis Wedding Celebration”, this past Sunday, December 29th. I used a lot of the sketches from virtual crop weekends that I had not yet completed to finish the album, and I love the way it looks. Here is a short description of one such sketch, which includes pictures of where we were married and friends and family setting up for the wedding the day prior and morning of.
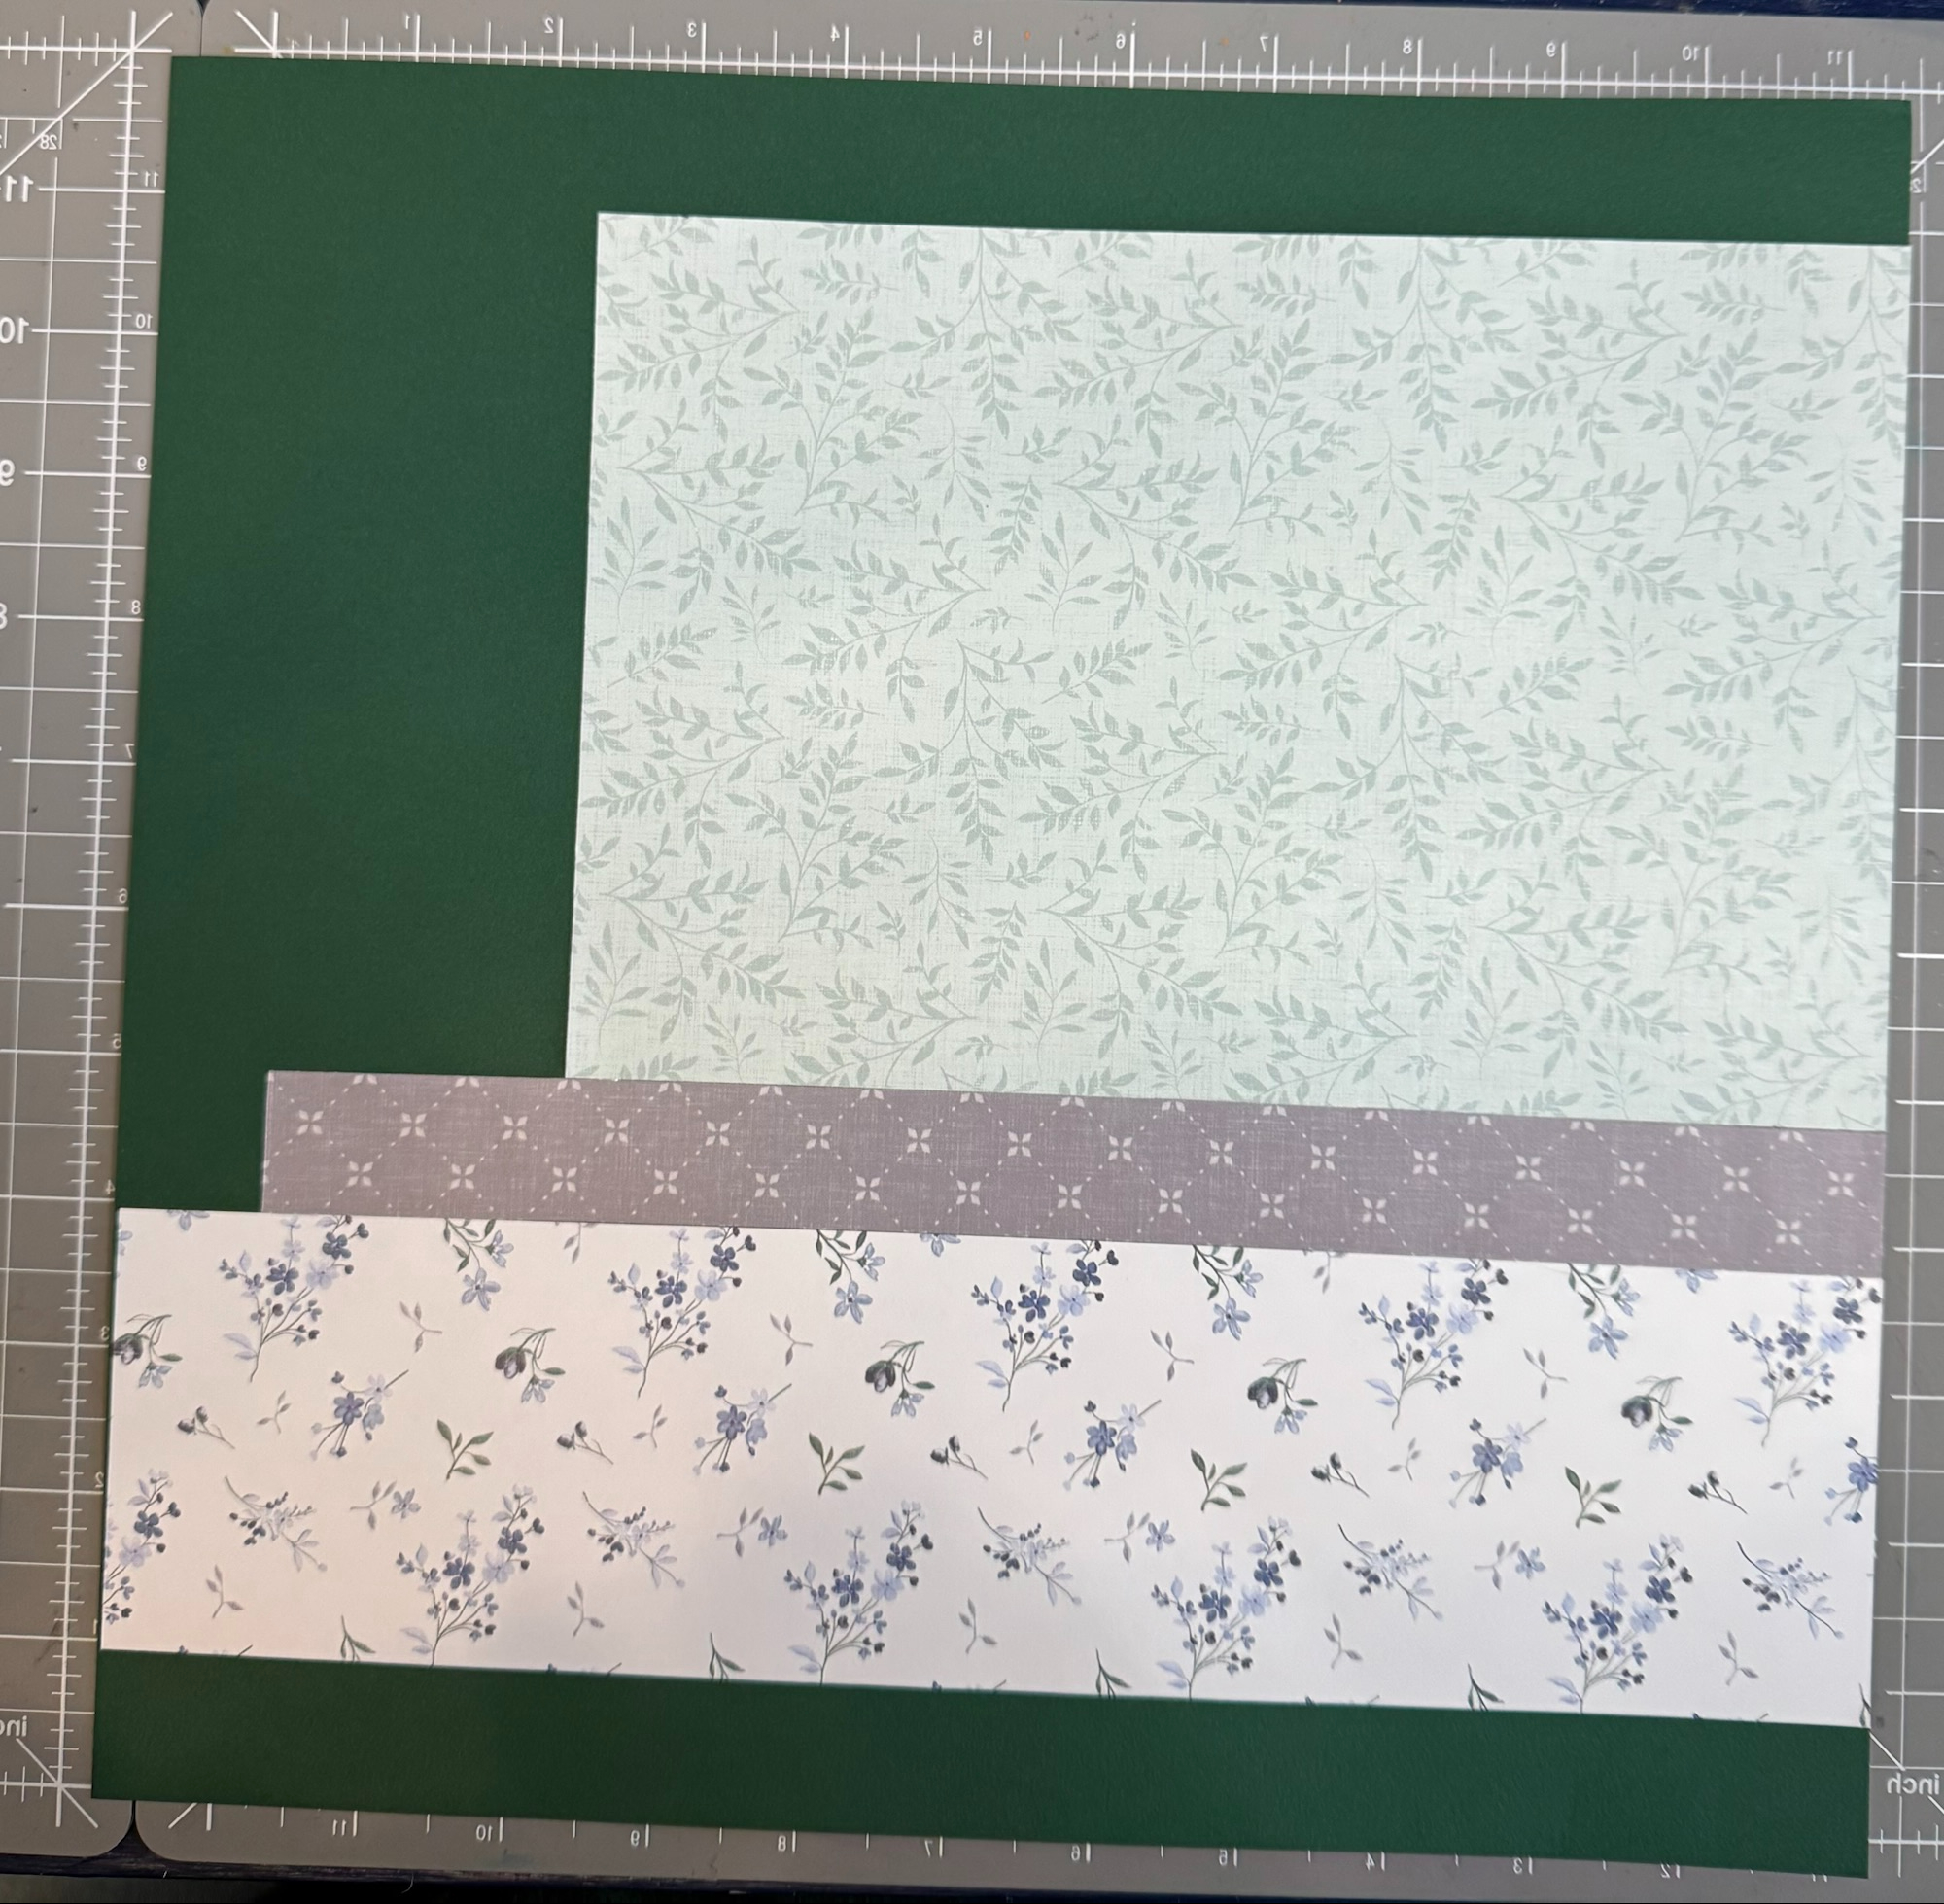

When imagining all of the possible color combinations, the sketch is quite beautiful. My wedding was navy, forest green and white, so I used those colors in my album. However, this sketch didn’t work with any of the photographs I had left, so I modified it to work. I left the basics the same, as you can see I used the basic design (as noted by the image of the background above). However, I ended up rotating the pages. I had four landscape photographs while the original sketch called for four portraits. Also, the sketch calls for 2×2 photos, but I didn’t have any that I wanted to print in that format. So, I rotated the pages and set the 2×2 squares on the left and right sides, then added my photos and designer paper to fill the 2×2 square spots. Below is the final result — let me know what you think.
The ability to rotate pages of a sketch is one of the best parts of using a sketch. Sure, it tells you the sizes and where to put everything, but it can also be the starting point for your own design. You have the flexibility to change it to fit the pictures you have on hand and the theme you wish to follow. I highly recommend joining Creative Memories Virtual Crop Group and purchasing some Creative Memories paper and tools to use. You will have fun, get some scrapbooking ideas and make some friends! There’s nothing wrong with new friends who enjoy the same hobbies!
I included a quick, very simple video of the second part of my wedding album. I hope you enjoy looking at it and get some ideas for your own scrapbooking. I look forward to any questions or comments you may have. Happy New Year!
Discover more from Deana's Creative Studio
Subscribe to get the latest posts sent to your email.
